Pie crusts can be frustrating. One bad experience making pie crust could turn you off to the task and send you to the grocery store to buy your pre-made pie crusts forever—but it doesn’t have to be that way! Pie crusts can be your friend! In fact, it’s a pretty easy way to impress people who don’t know the ways of making pie crust. And really, who doesn’t love a buttery, flaky, delicious pie crust?
There are a few tips to follow when making pie crust.
1. Make sure your butter is chilled.
If it’s warm, it’ll cream with the flour and be more like a cookie or shortbread dough. If it’s chilled and cubed, it mixes in chunks and that provides for layers and flakes.
2. Use cold water! We’re talking ice-cold water.
Everything about pie crust is cold—the butter, the water, the time in the fridge. If you want flaky pie crust, just trust us on this one. Next, don’t use too much flour. You want your dough to be malleable, but not dry. Using cold water and cold butter, and allowing the dough chilling time will help you have malleable dough without drying it out.
3. Remember how we mentioned that chilling time? That’s important.
You should allow for at least an hour in the fridge—overnight is preferred.
After you’ve made your perfect pie crust, you want it to look good too, right? Following the pie crust recipe below, you’ll find three creative ways to show off your pie crust skills. Make your pie look as good as it tastes!
Pie Crust Recipe:
Ingredients:
2 1/4 c. flour
1 c. butter (cubed and chilled)
1 t. salt
1/4 c. cold water
Directions:
- Cube butter into small cubes. Put butter in the fridge to chill while you measure out the other ingredients. Cold butter helps the pie crust get flaky. Warm butter will make it more like the dough less stable.
- Measure out flour and salt into stand mixer with paddle attachment. (If you don’t have a stand mixer, you can also mix the dough with your hands.)
- Add butter to flour mixture. Using paddle attachment, mix on low speed (to avoid getting sprayed in the face with flour) until just combined. Over mixing will lead to a tough dough.
- Once the flour mixture and butter are fully combined, add cold water.
- Mix until just combined. (If you’re in a dry climate you may want to add a few extra tablespoons of water.)
- Wrap pie crust in saran wrap and let it chill in the fridge at least one hour, but preferably overnight.
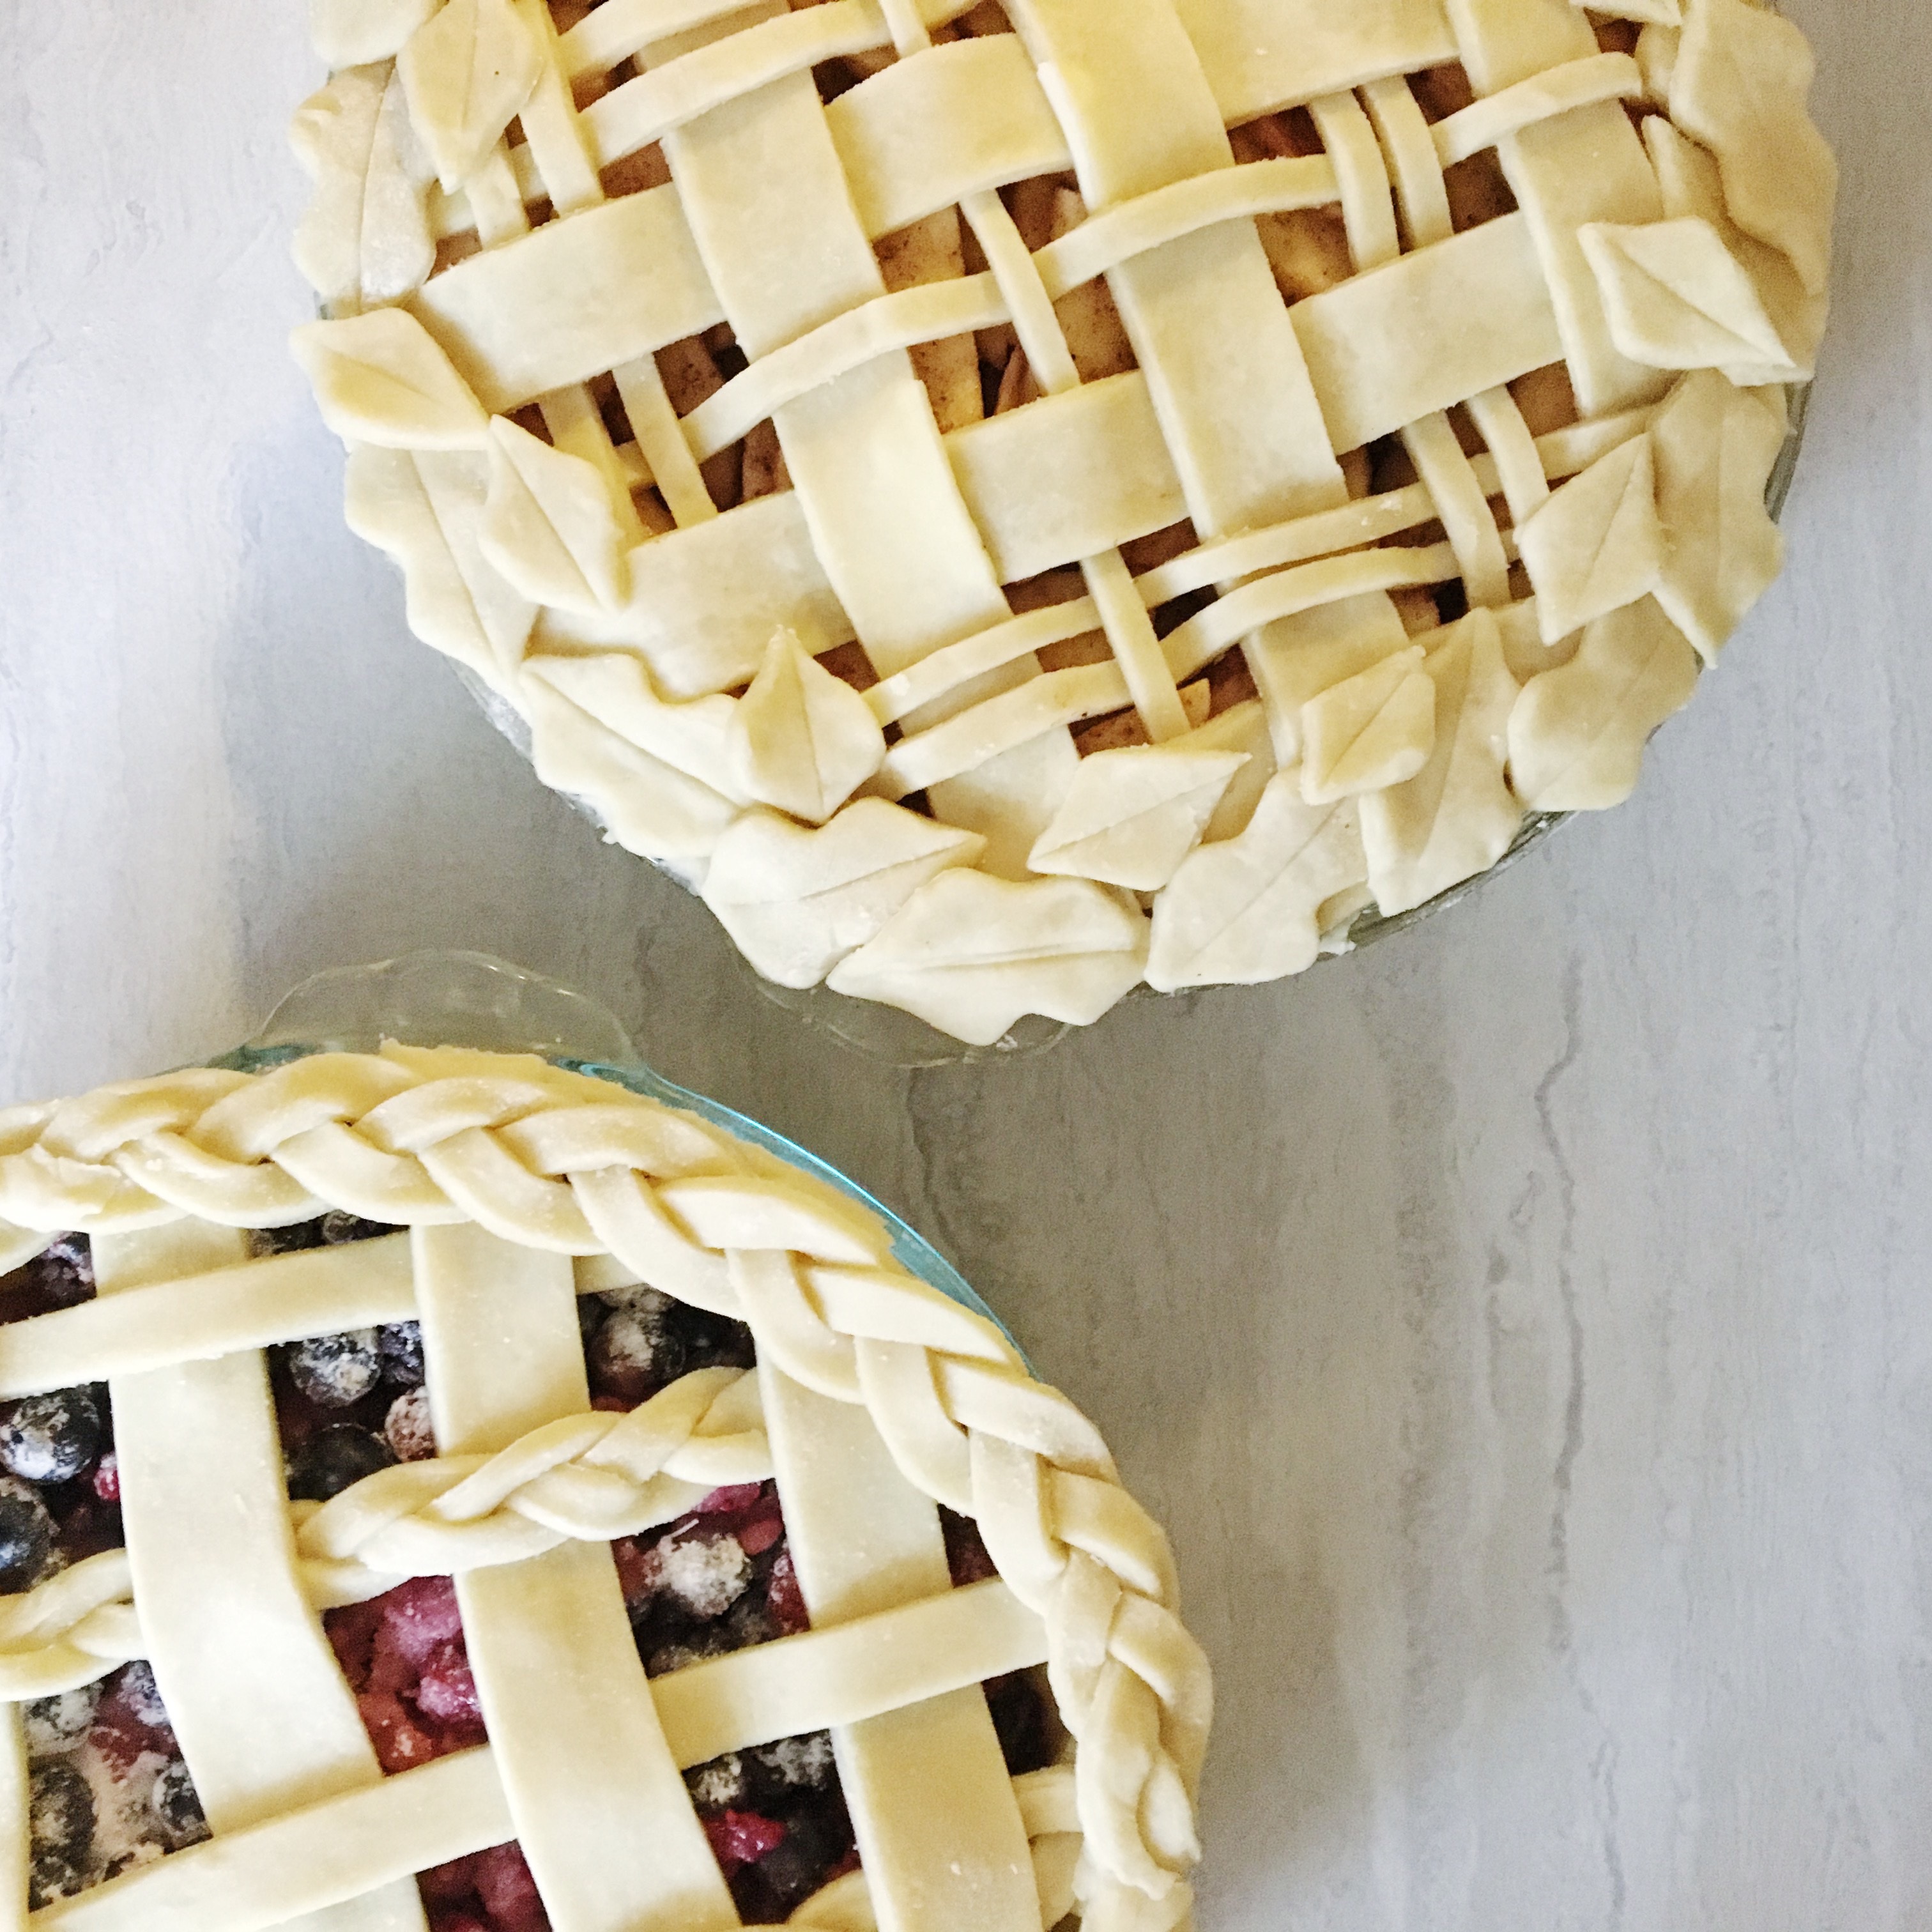
3 Creative Pie Crusts
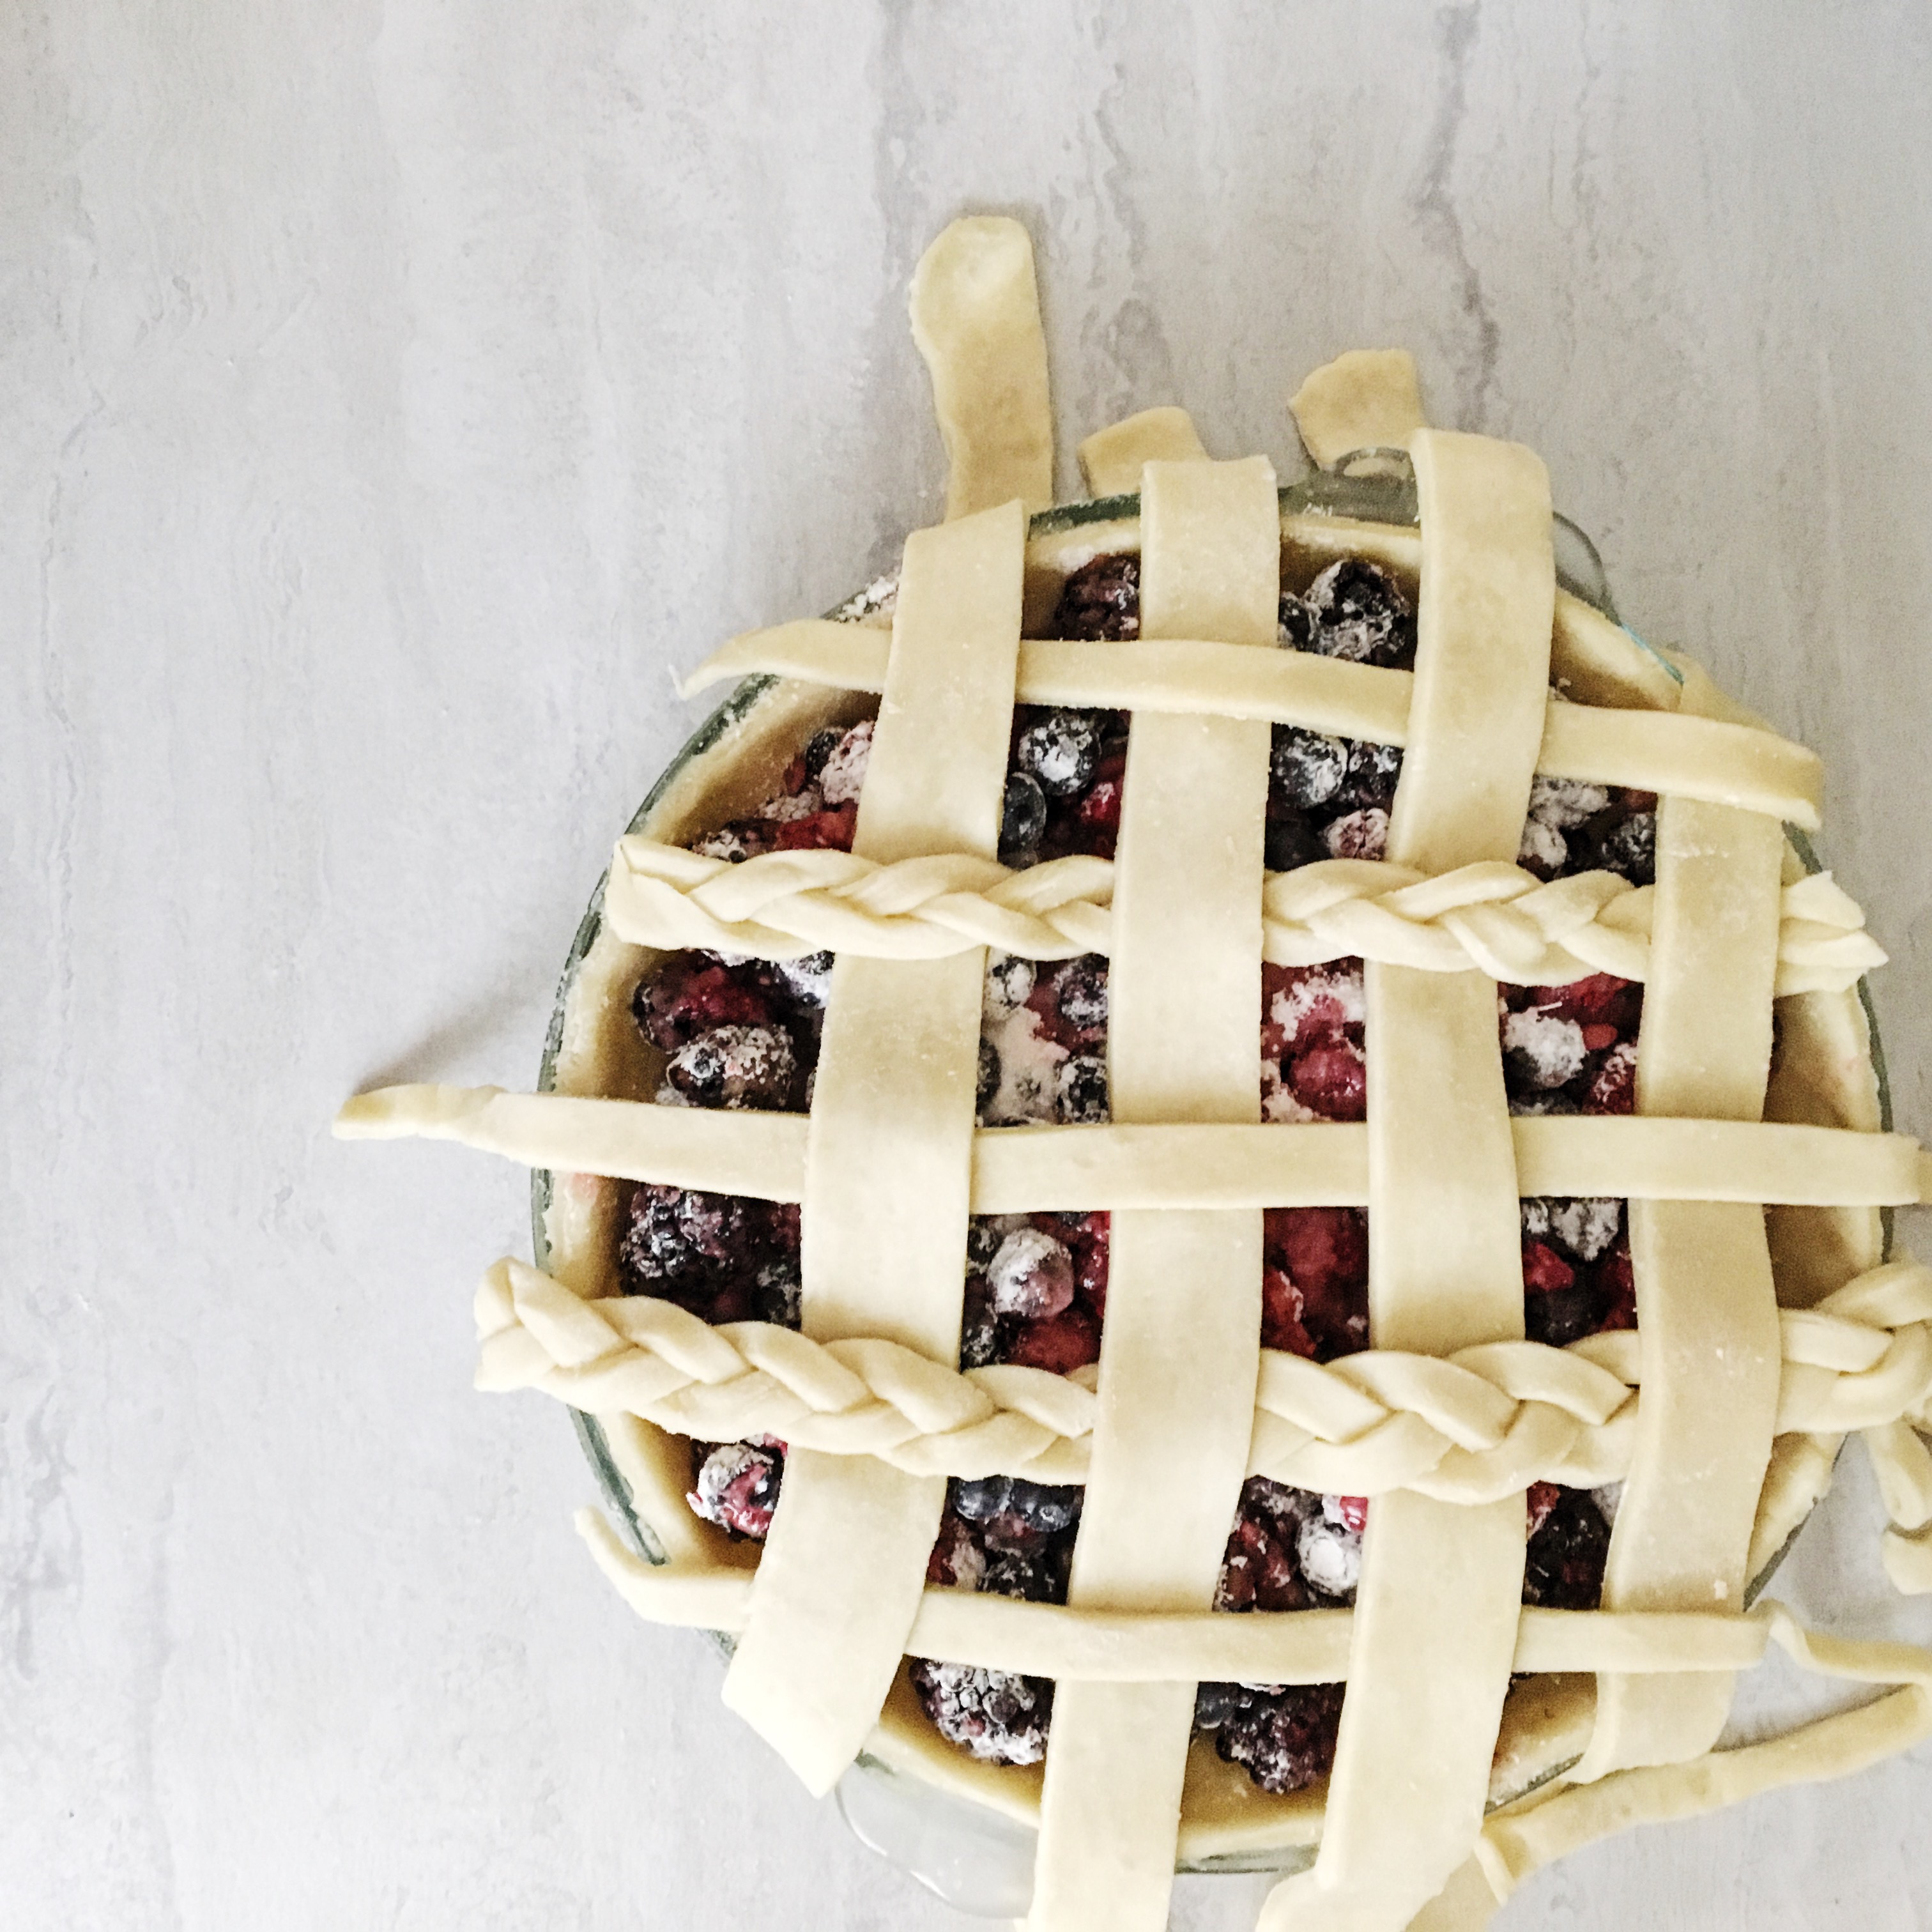
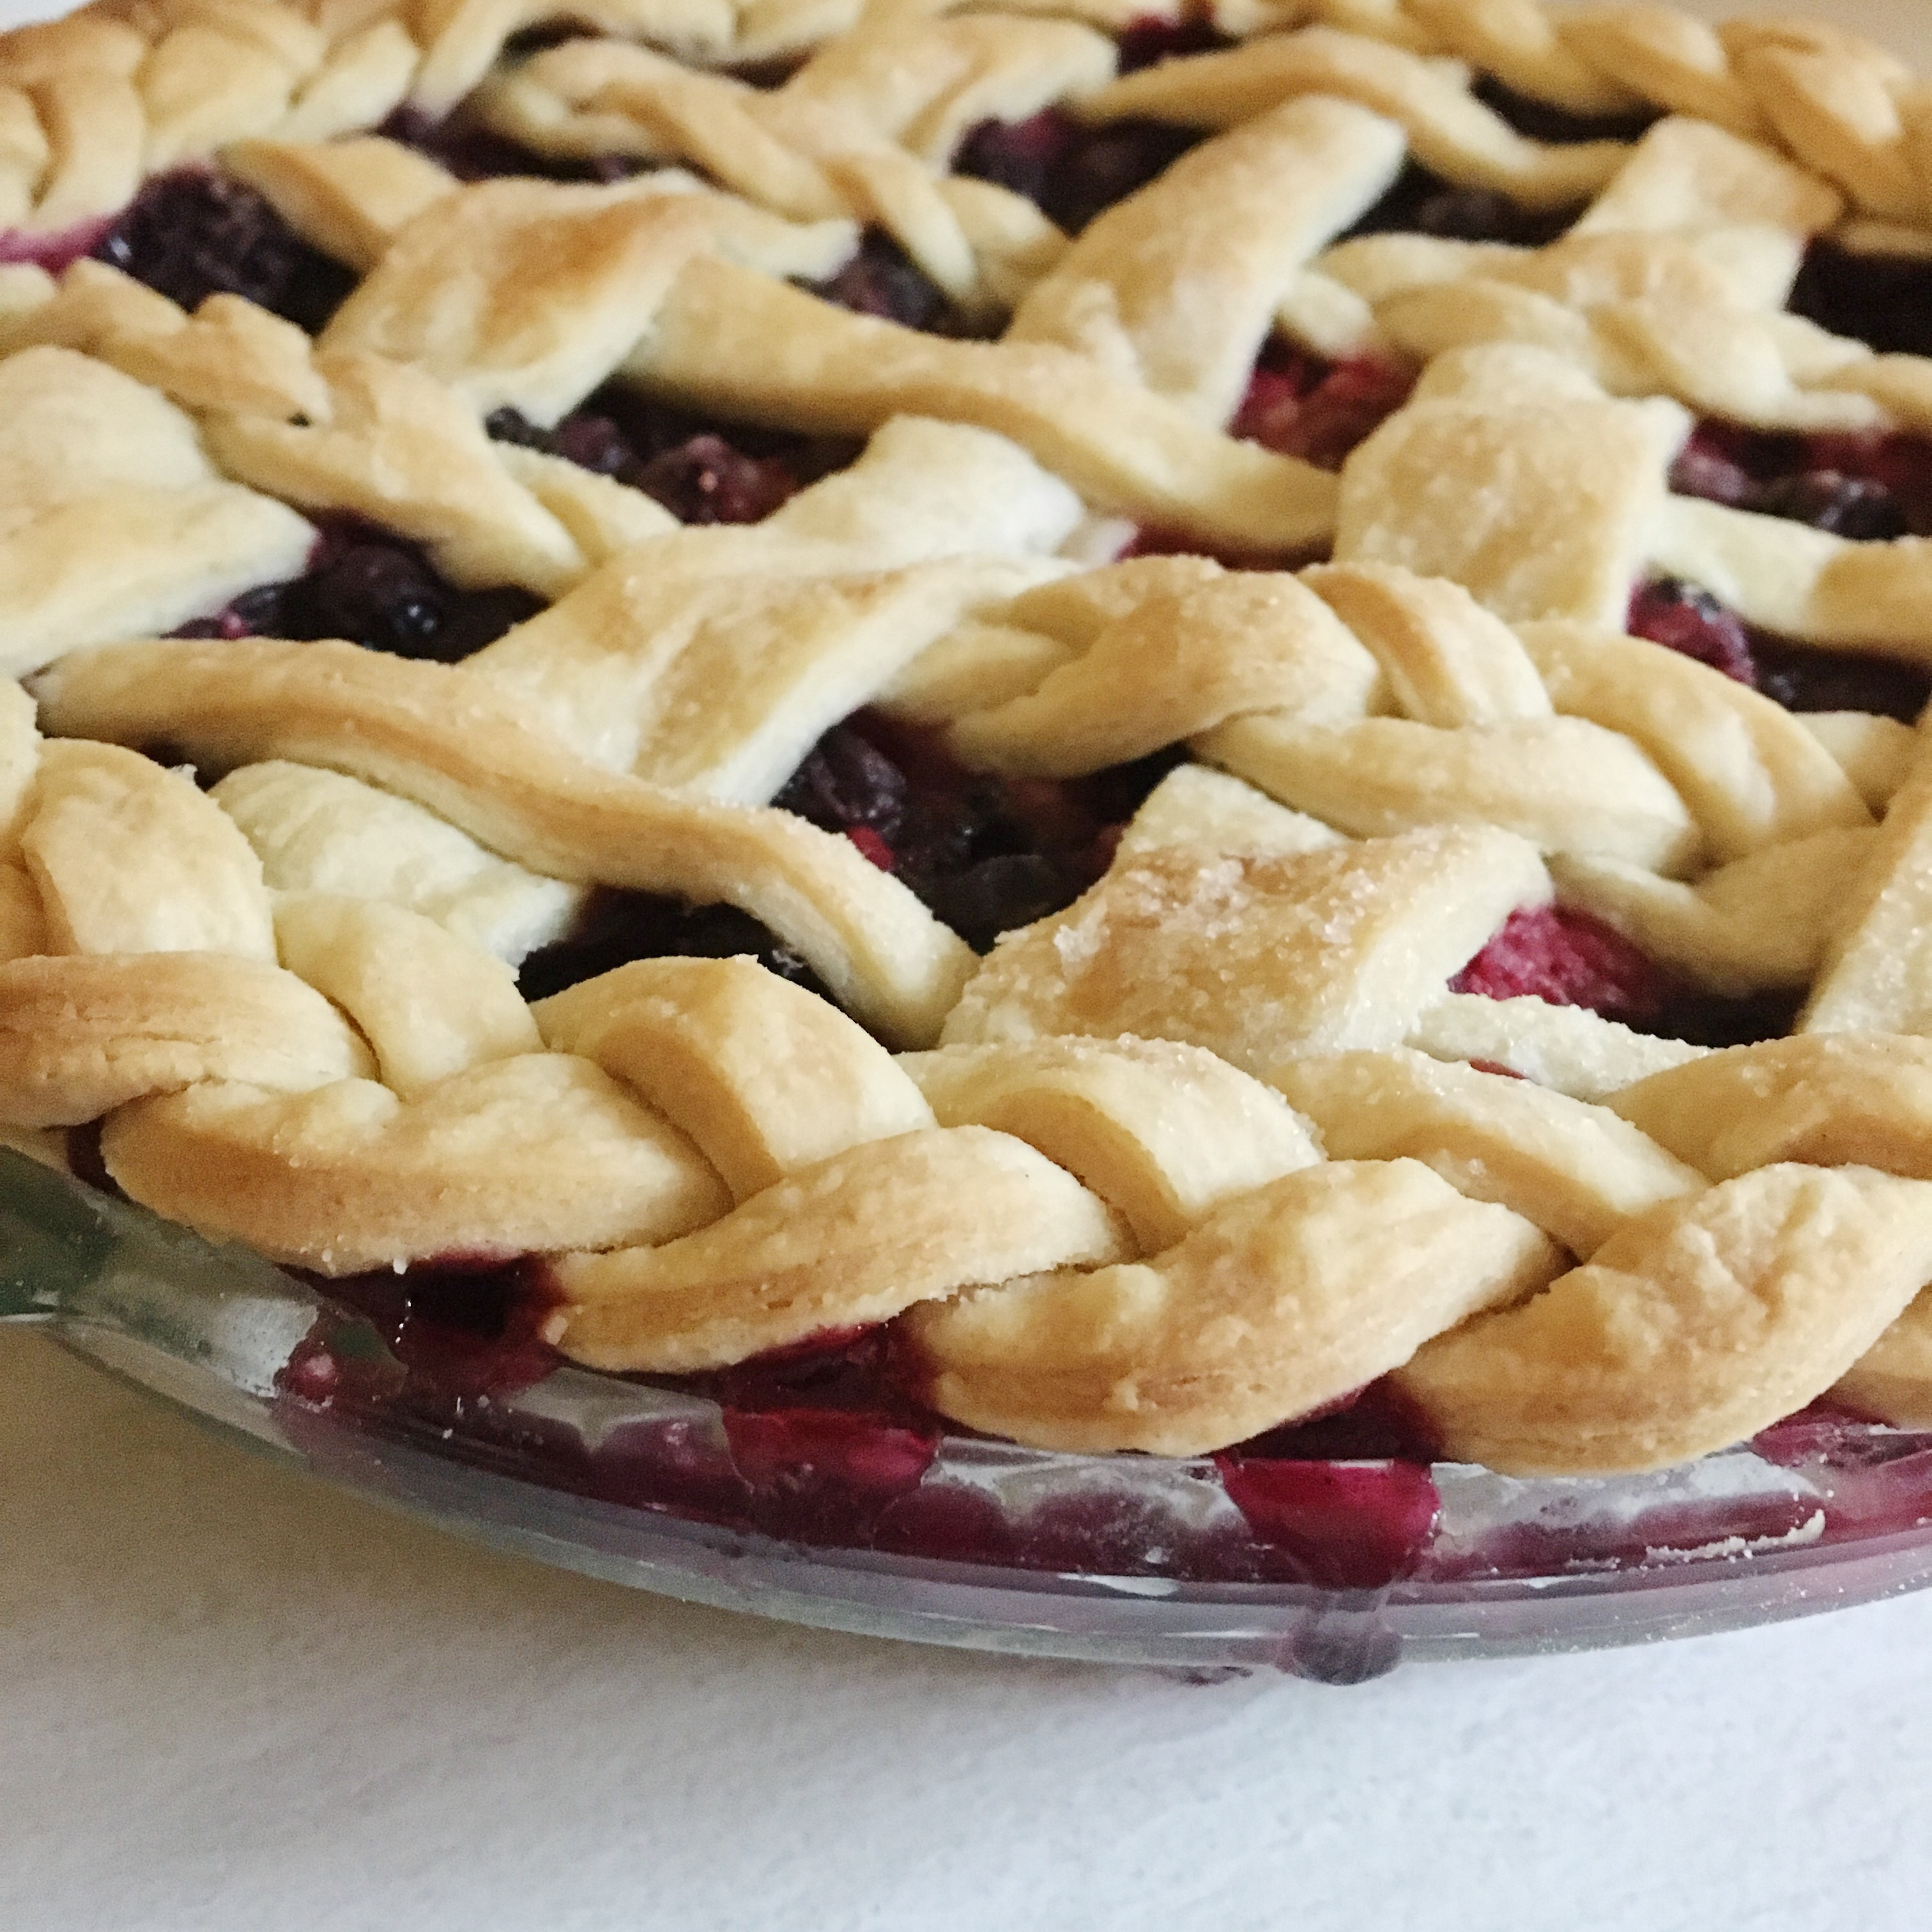
Braided Crust
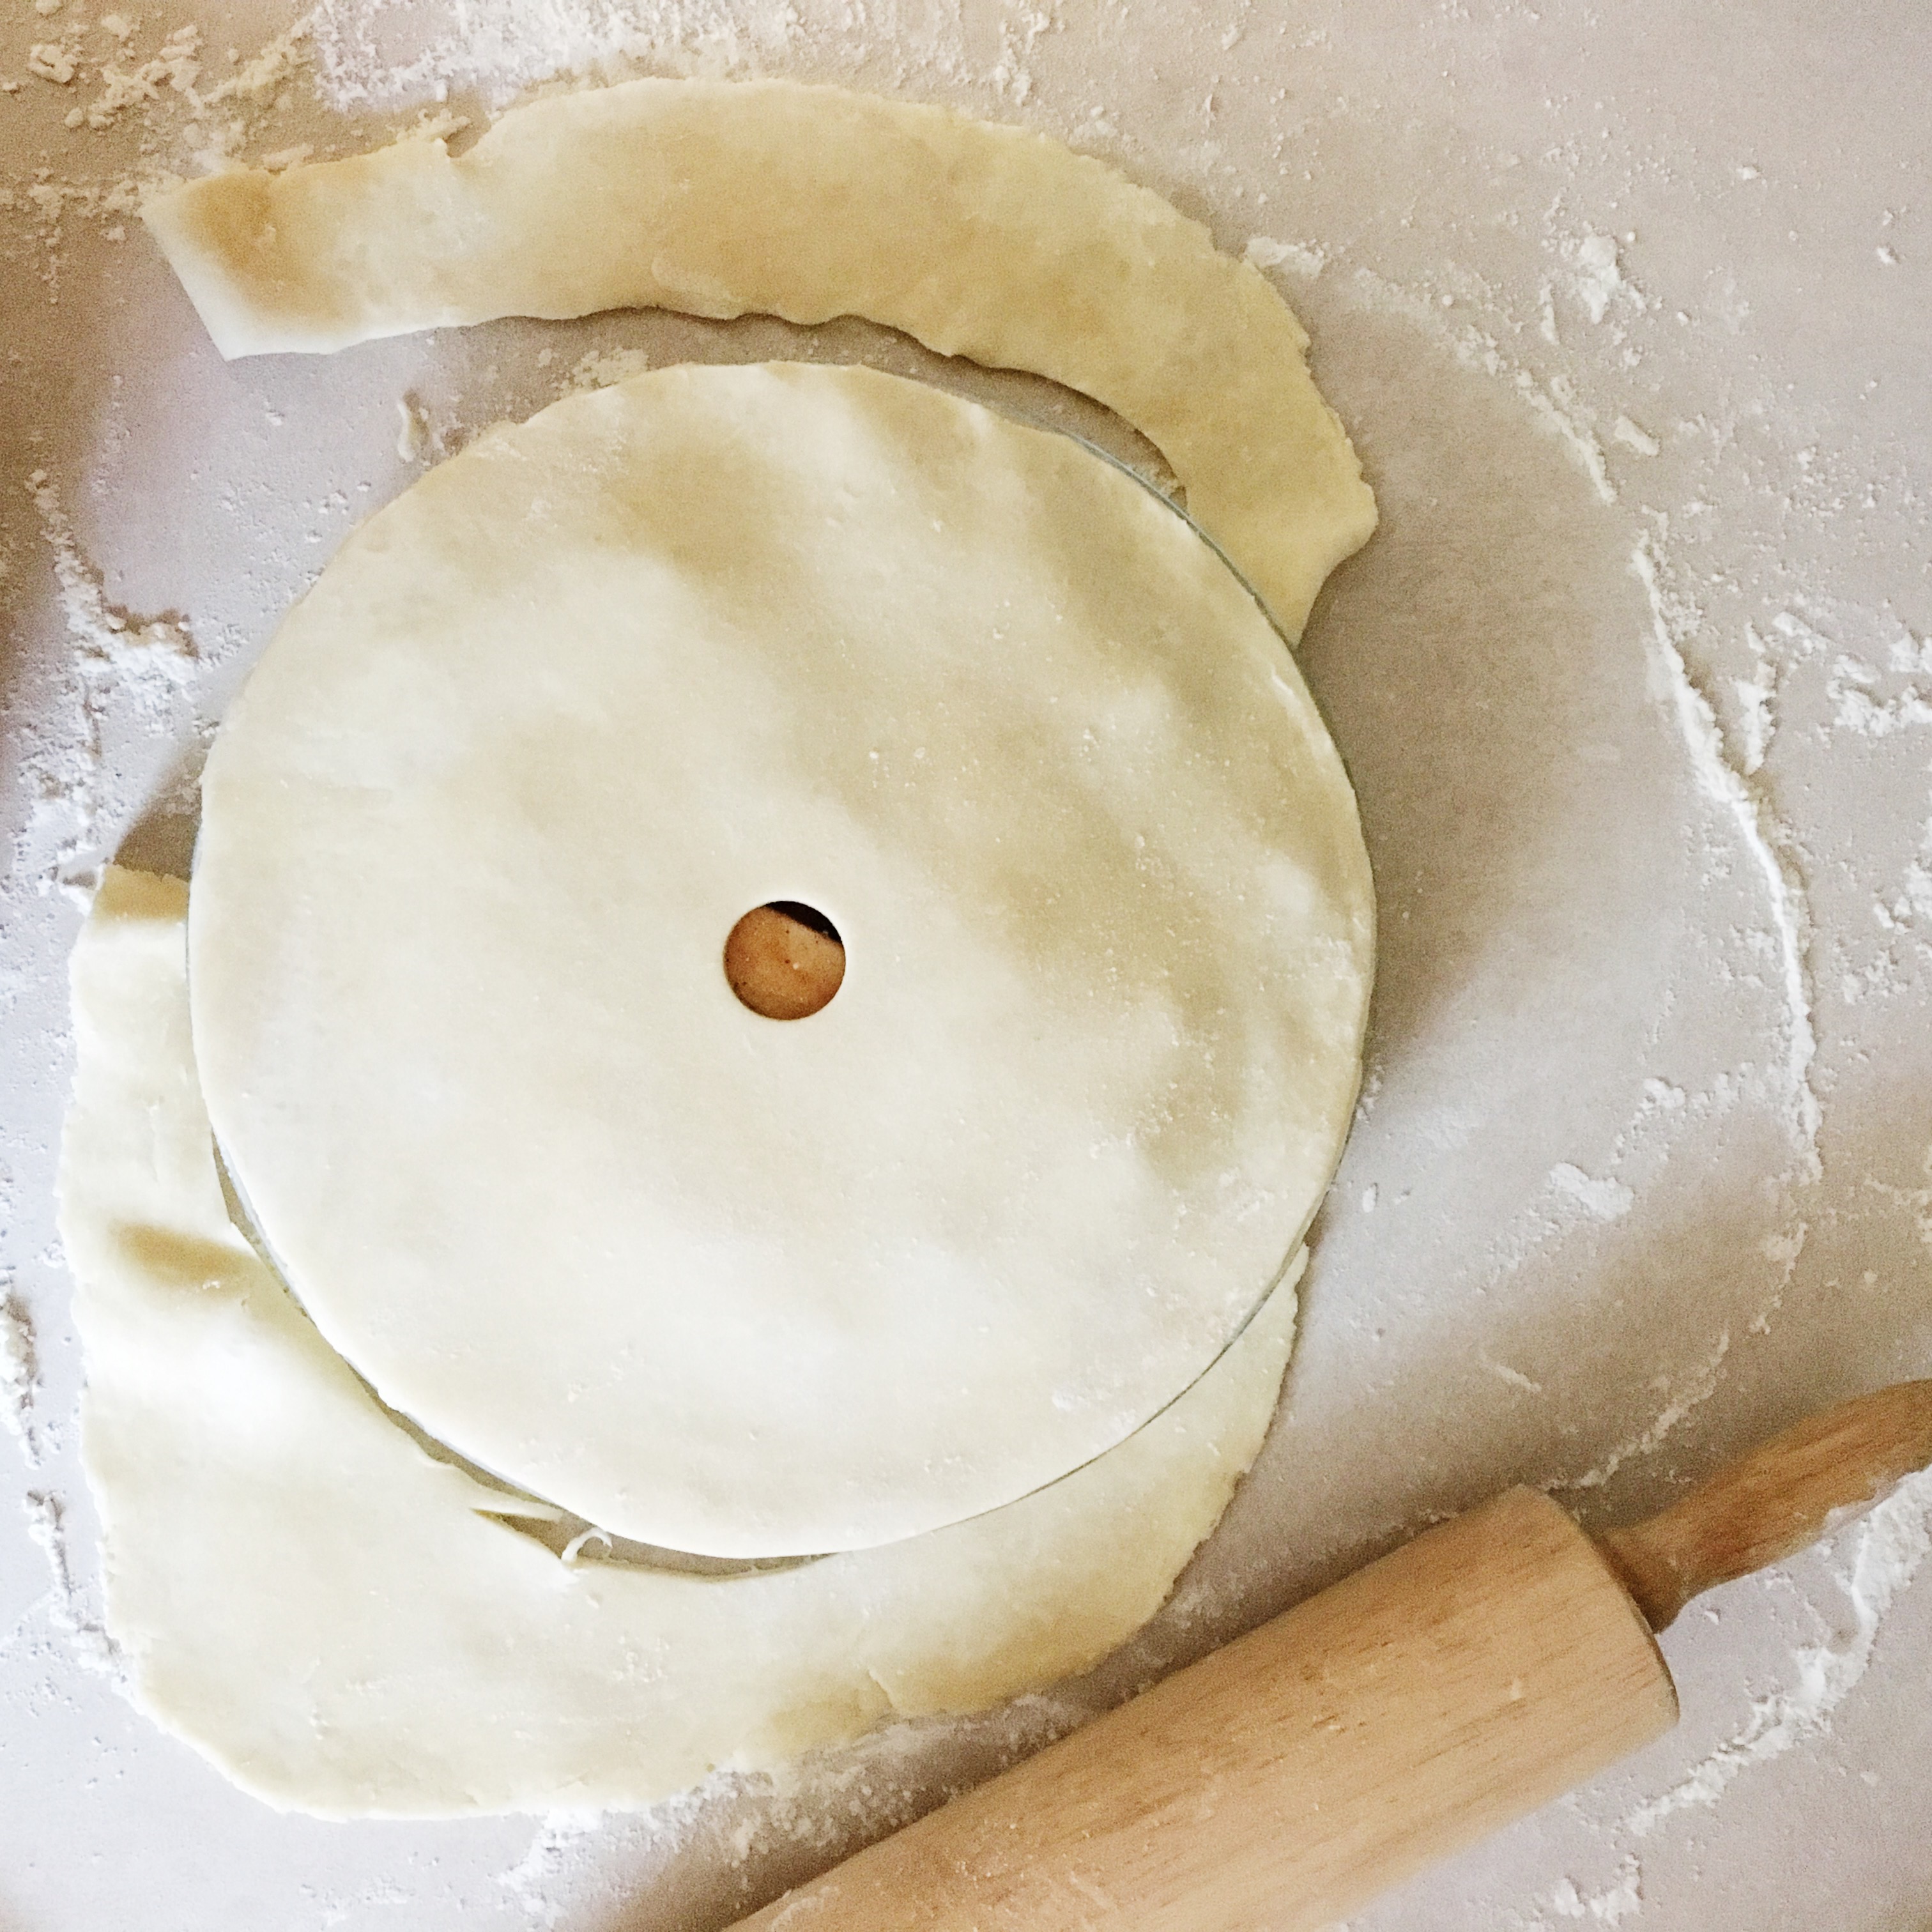
- Roll out pie dough.
- Using a knife or pizza cutter, cut out four 1” wide strips of pie dough.
- Cut three 1/2” wide strips of pie dough.
- Cut twelve 1/4” wide strips of pie.
- Divide the twelve 1/4” thick strips into four groups of three.
- Braid each group, pinching the ends together to keep the braid in tact. You should have four braids.
- Create a lattice top using four 1” strips going one way and alternating two braids and three 1/2” strips going the opposite way.
- Cut off excess around the edges of the pie.
- Place remaining two braids around border of the pie, pinching the ends together to connect them.
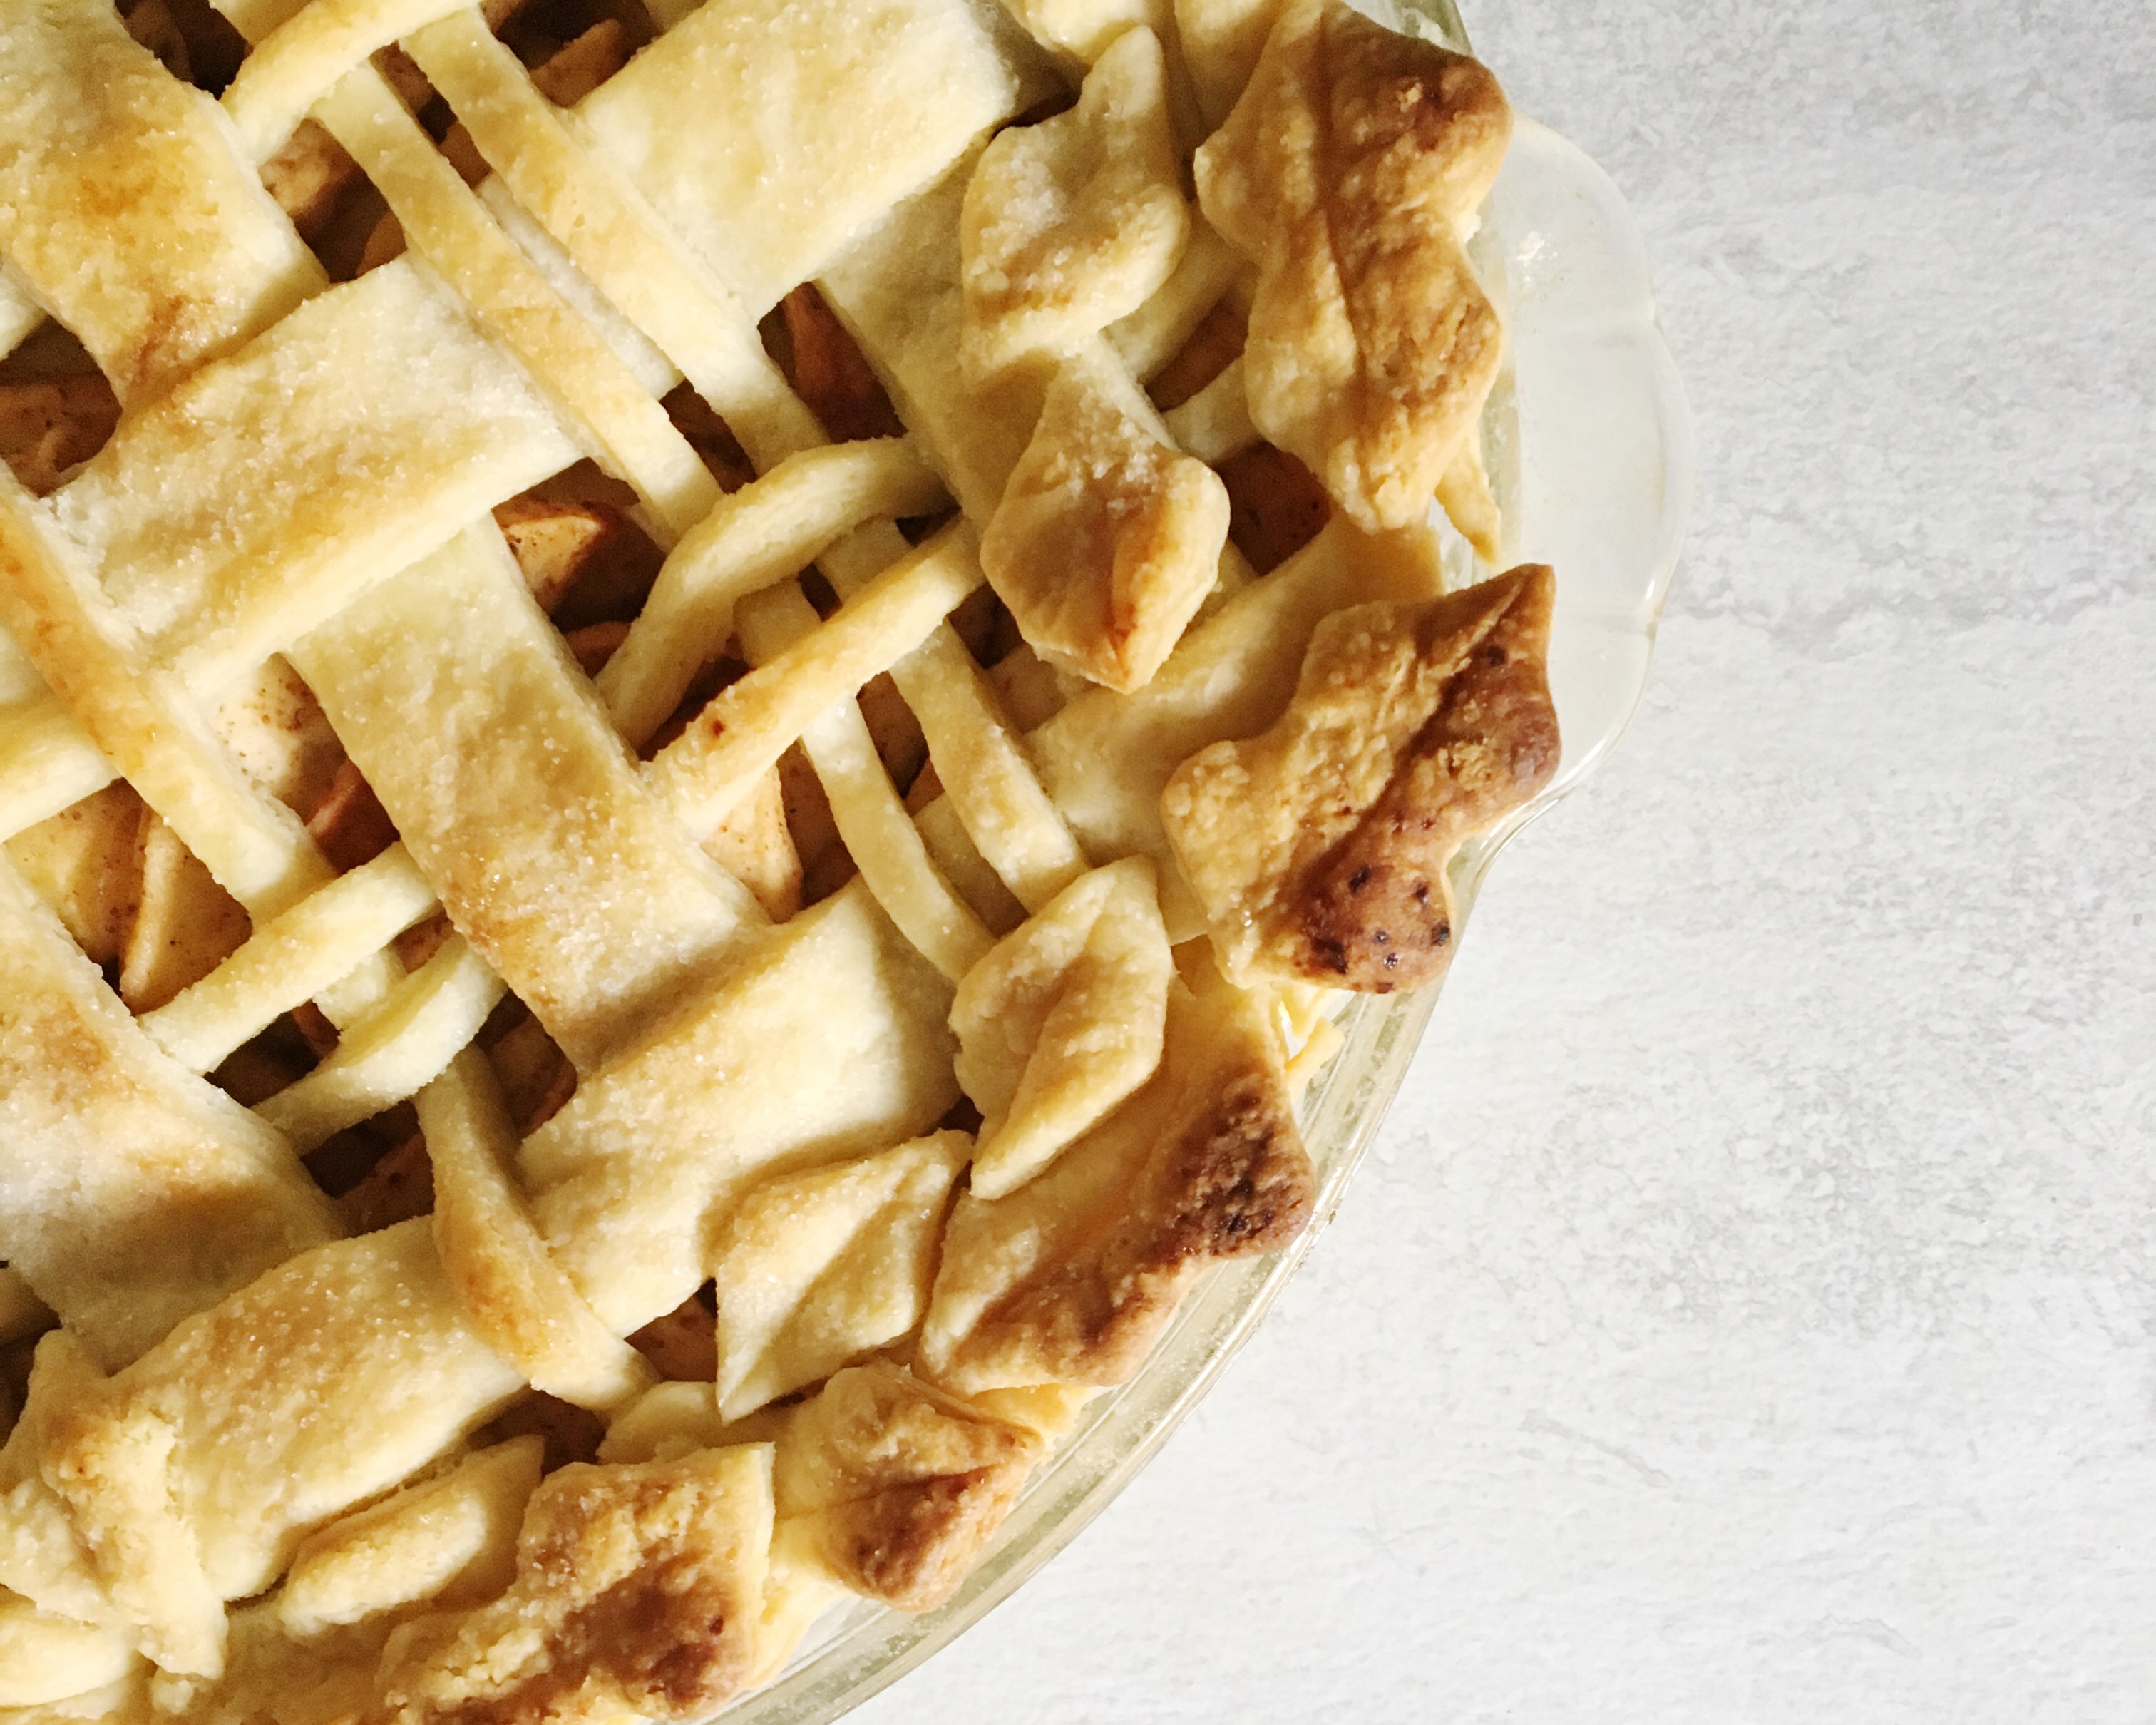
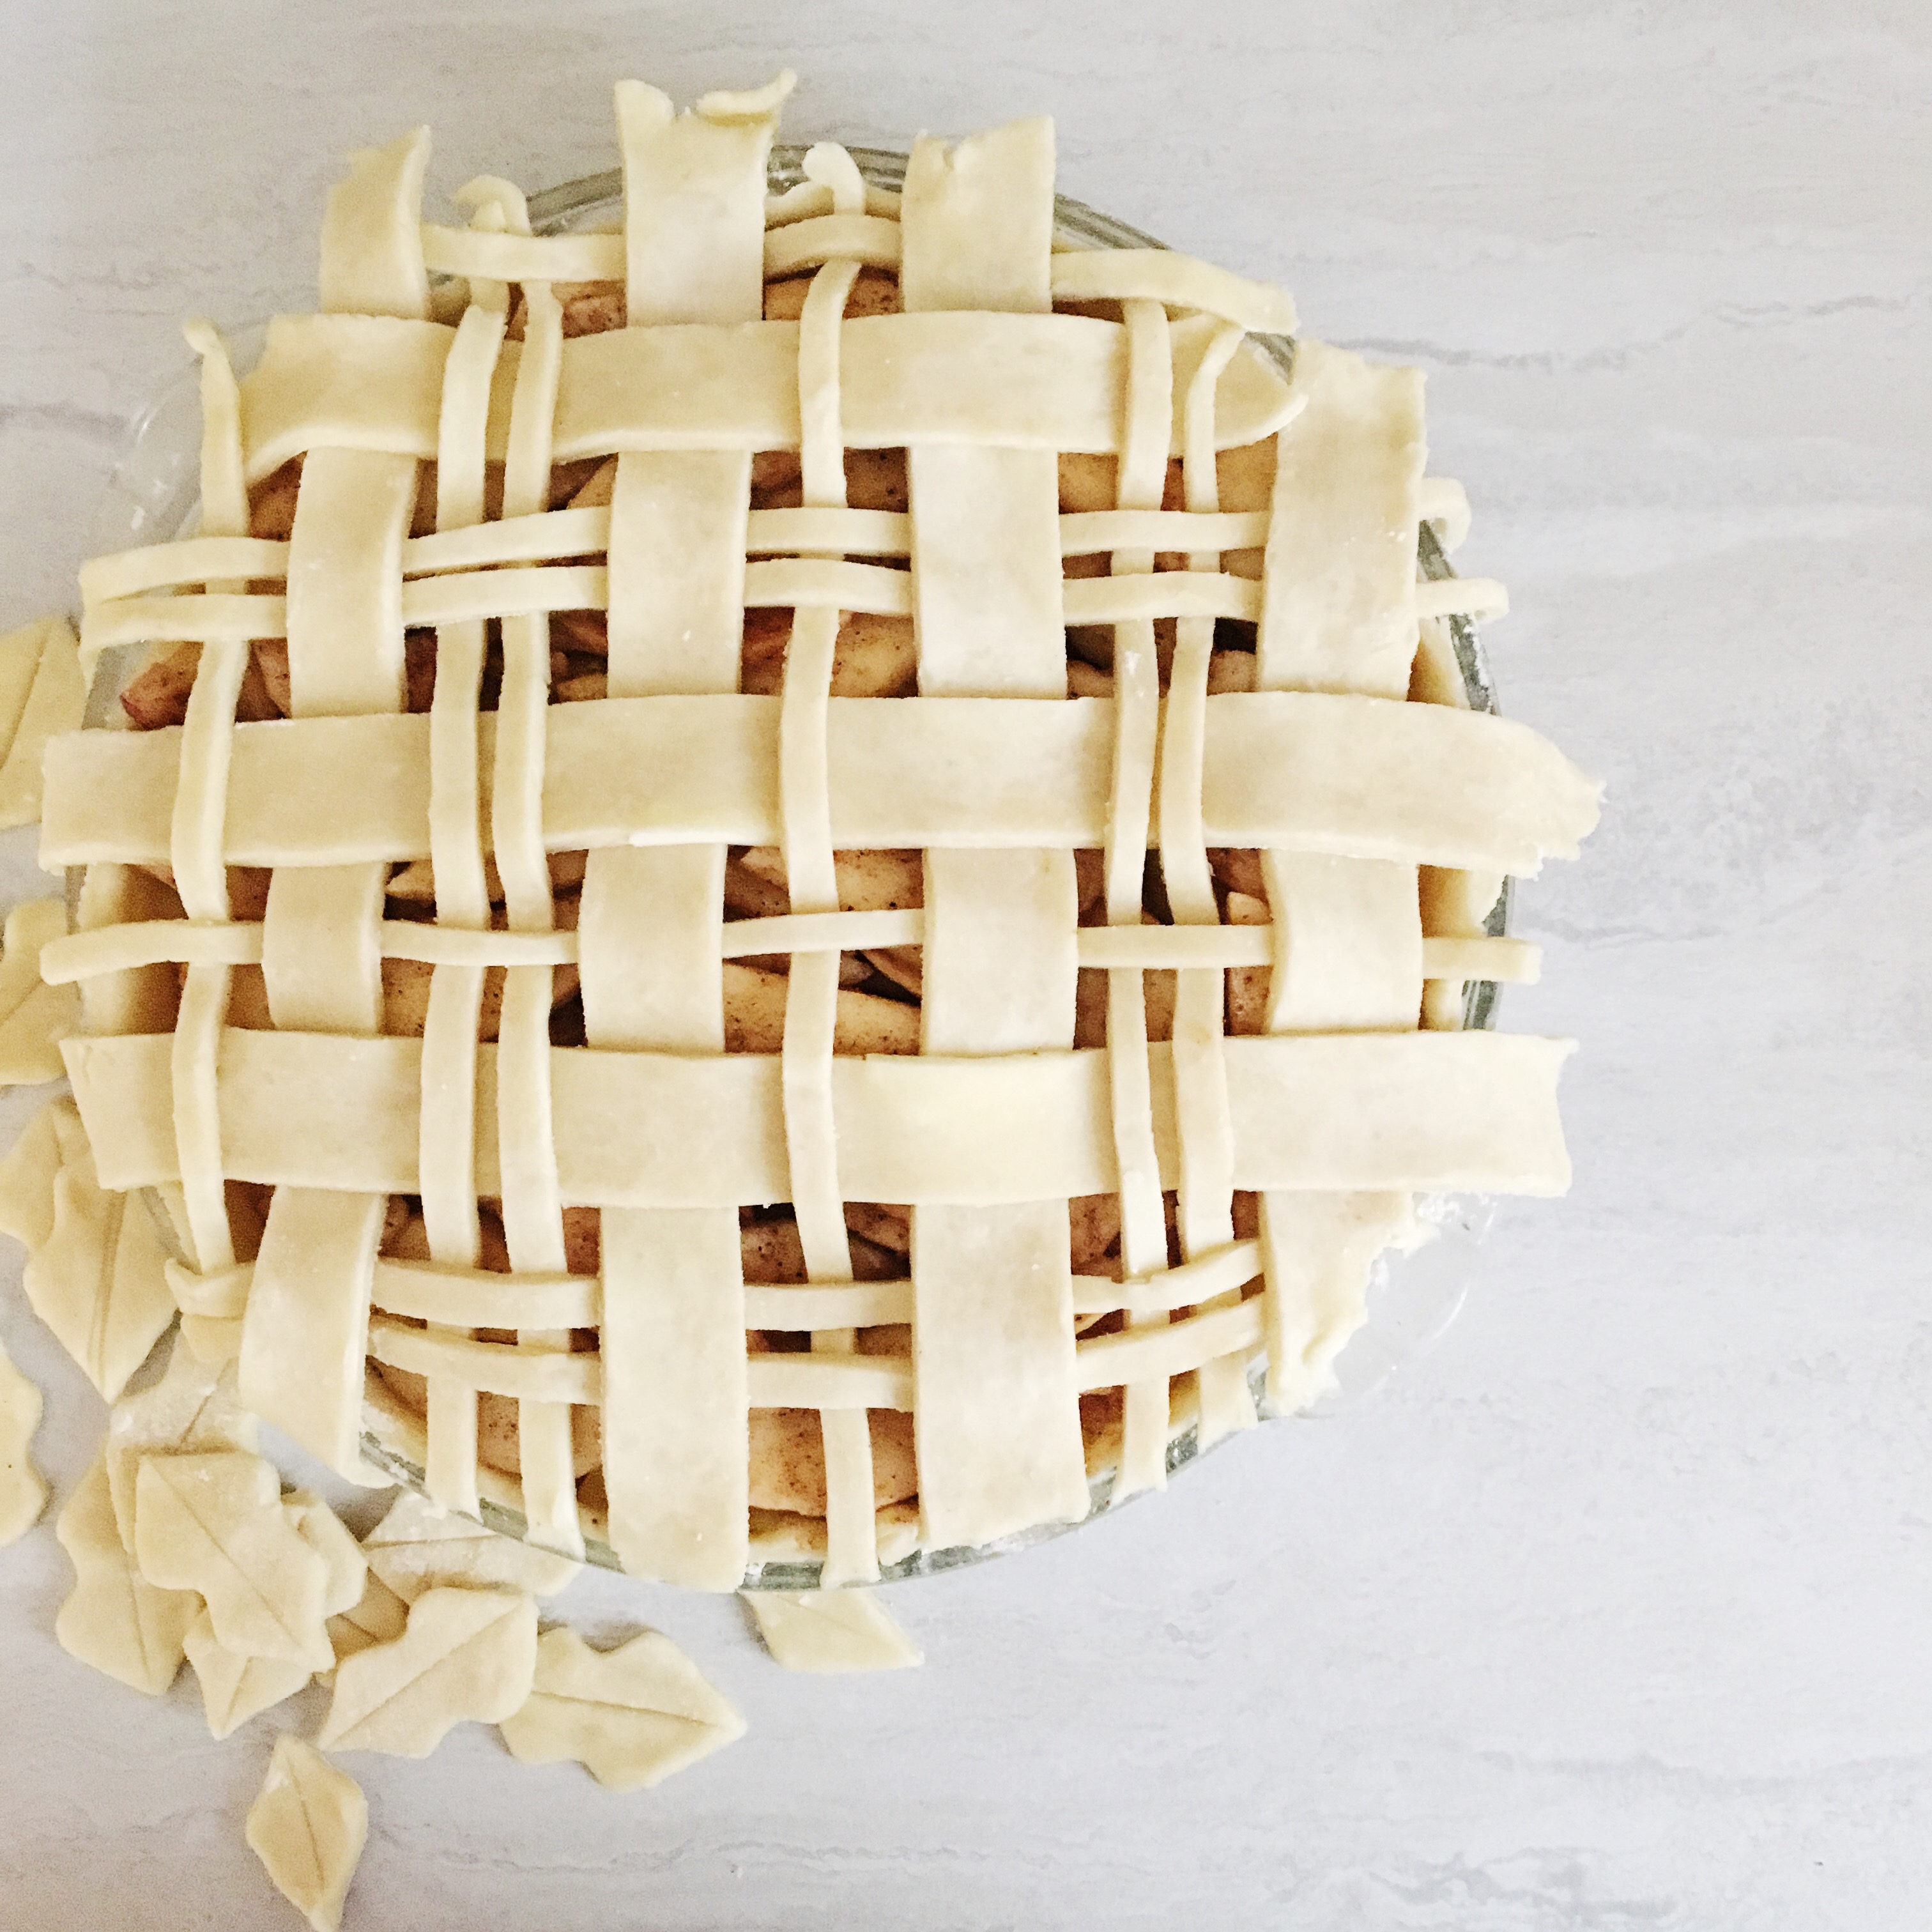
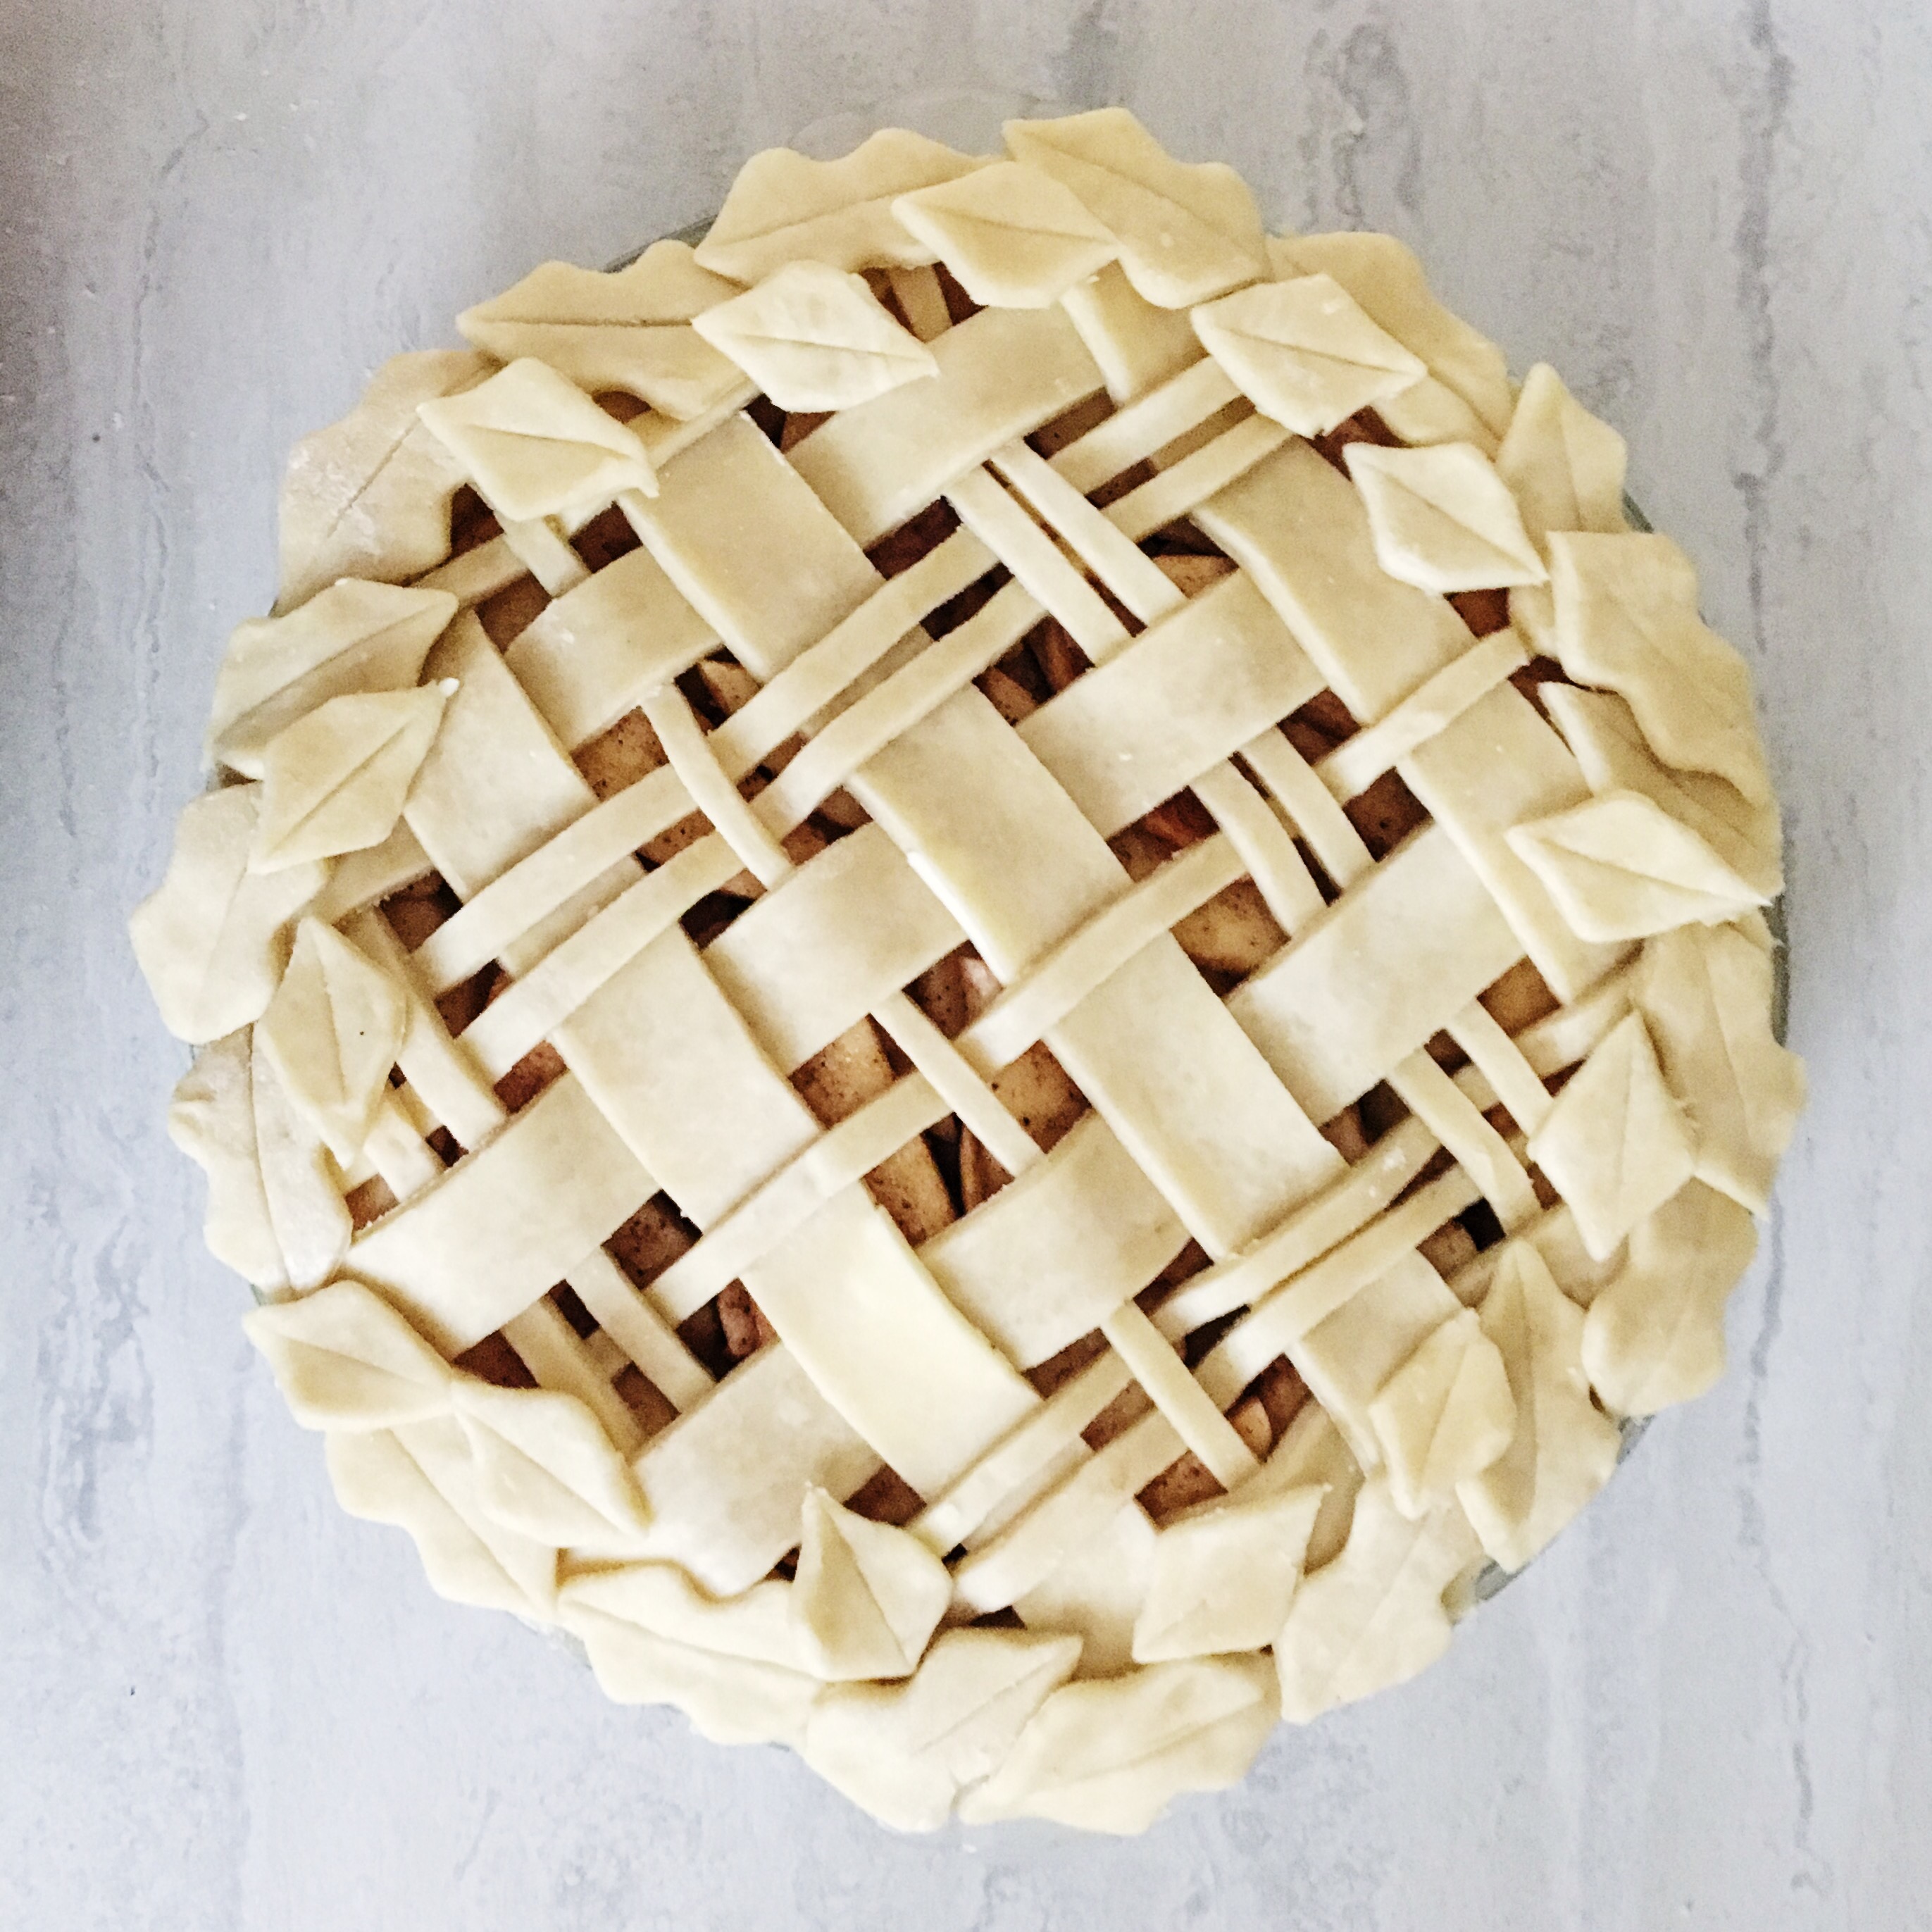
Lattice and Leaves
- Roll out pie dough.
- Using knife or pizza cutter, cut six 1” wide strips and ten 1/4” wide strips of dough.
- Using a leaf cookie cutter or knife, cut out however many leaves you need to create a border.
- Create lattice top by alternating two 1/4” strips with one 1” strip with one 1/4
” strip going one direction. Create the same pattern going the opposite direction. - Place leaves around border, and place some a bit further coming onto the pie.
Spoon Border
- Roll out pie crust.
- Place over pie pan, pinching the corners of the pan.
- Cut off the excess crust so you have a clean border around the crust.
- Using kitchen spoon, press lightly on the edge of the pie about halfway through the border. Repeat, pressing just below the first mark.
- Repeat until you’ve finished making the border all around the pie crust.


Recipe and baking by Mary Elizabeth Hammond of Love Cake Bake.
Organizational Support Provided By: